
Tutorial: How To Make a DIY Japanese Table
1:41 AM
I've always wanted to have one! I made this out of frustration because I couldn't find any tutorial out there. I'm also feeling crafty lately so I became totally resourceful and decided to just make my own.
So here I'm going to share you how I made my own Japanese table, not a Kotatsu, this one is uhh, simpler. XD Using all the materials you could find at the bookstore, I'm pretty sure you can make your own table in a jiffy. ;) BTW, I made this for myself and I just like to share what I learned during the process and suggestions/comments/reactions are very much welcome! I'm still a newbie when it comes to building things for my precious toys. :D
To make your awesome table, you need the following:
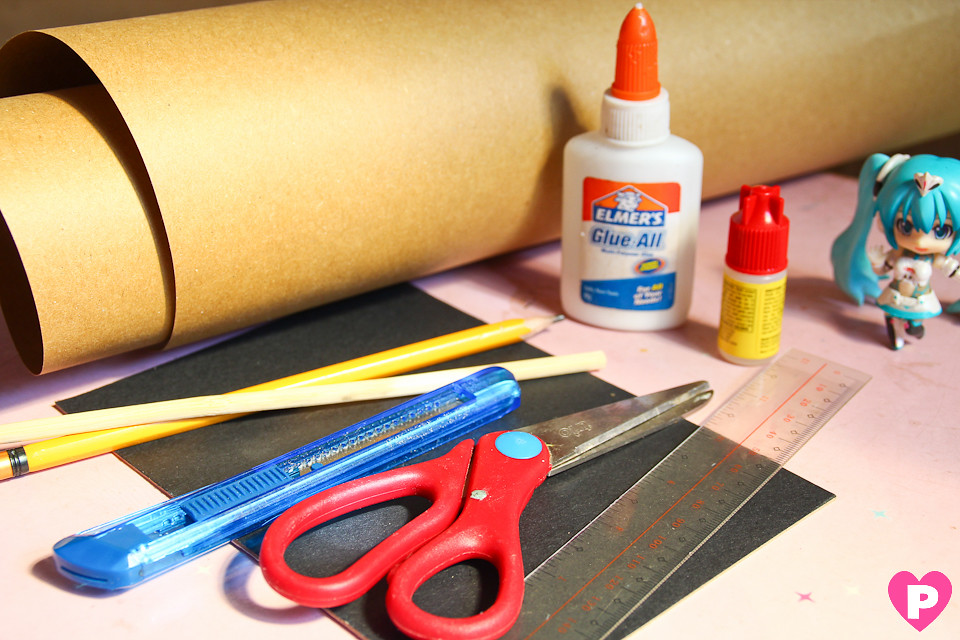
Pencil
Chopstick
Cutter
Scissors
Illustration board
Brown cartolina/board
Ruler
Glue
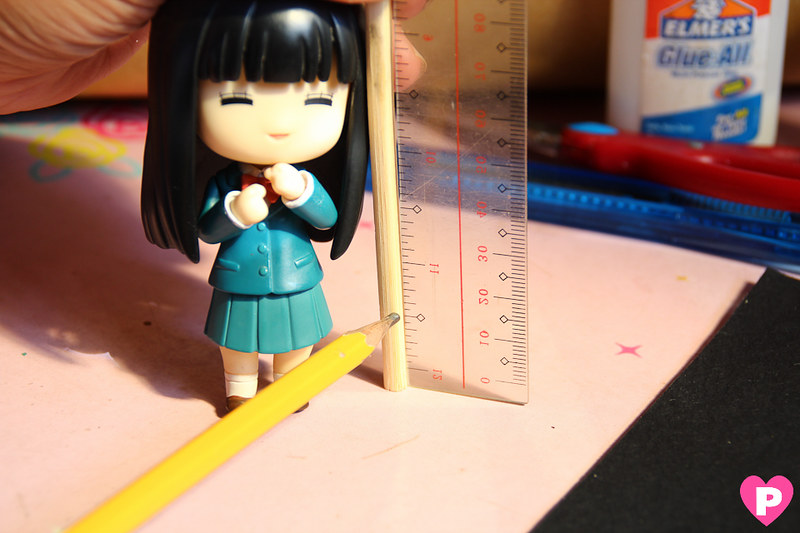
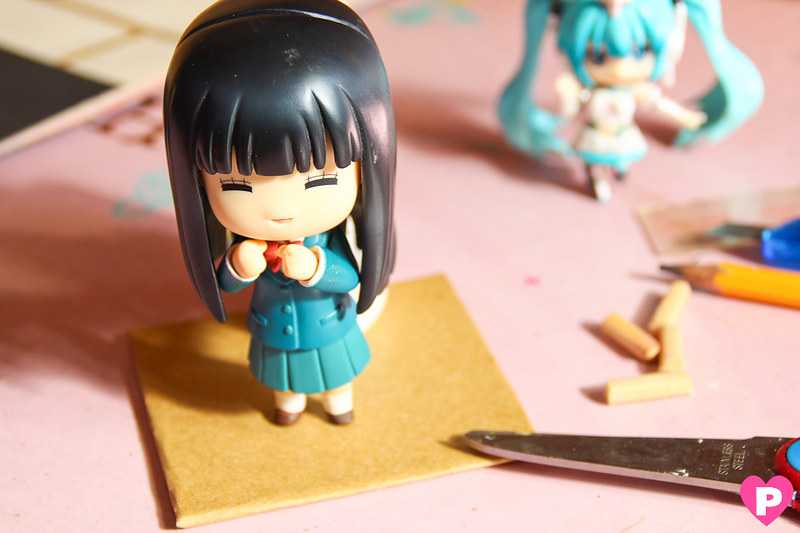
1. You need to measure the table first. I took the ruler and the chopstick, then used my Nendoroid to measure the height to its scale. Mine was half inches, almost up to Sawako's knee.
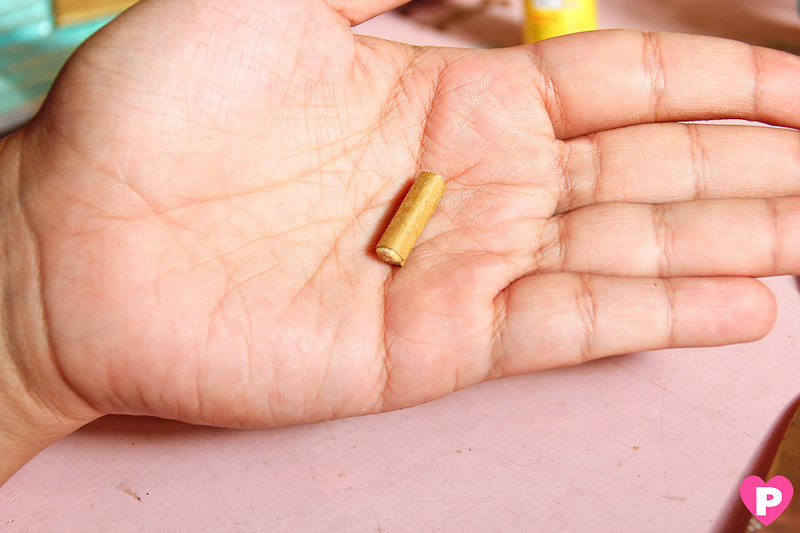
2. I've started with making the table's feet first, so after measuring half an inch, I took the cutter and proceeded in cutting little 4 pieces.

Be careful in using the cutter! :)

It should look like this after cutting a small piece from the chopstick.

3. It would look awkward if the table's feet has a different color than the table itself so I cut small pieces of brown paperboard and wrapped it around the feet so it would look even.
4. It should look like this...
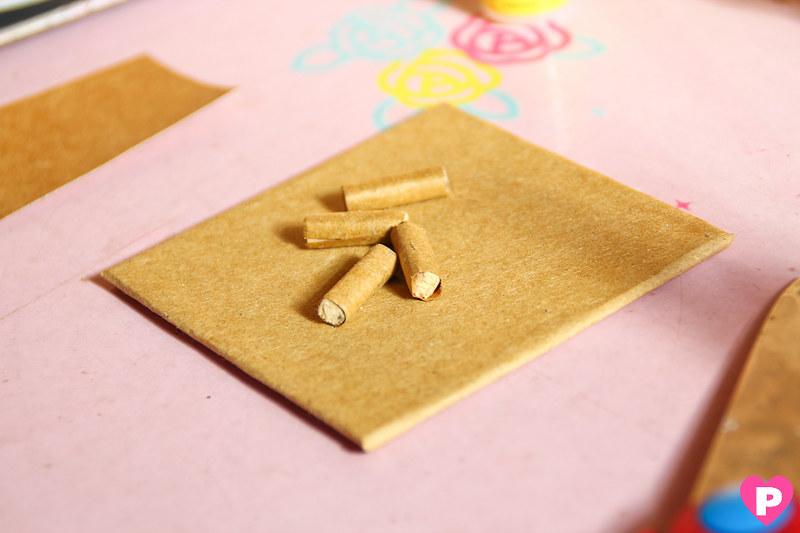
Now make 4 pieces of those as well.

5. Now as for the table, I took the illustration board and measured it by 3" x 3" inches. (this is just my size, you can make any size you want :)
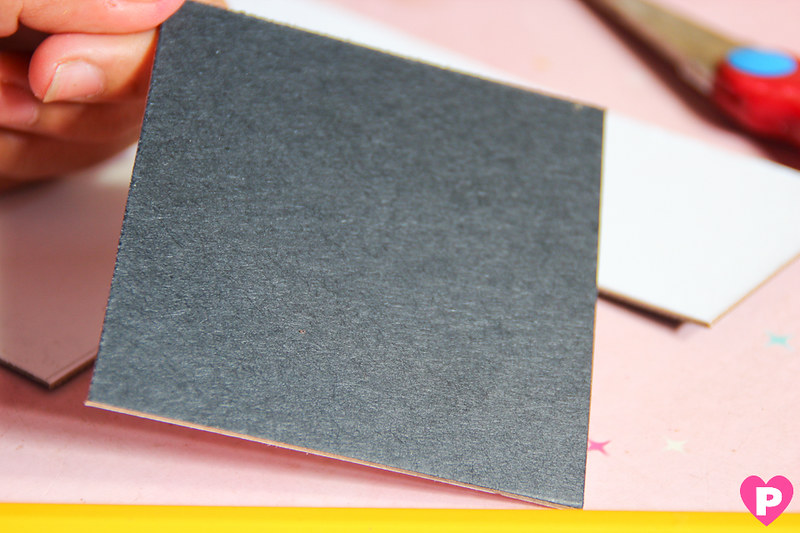
After cutting the board, it should look like this.
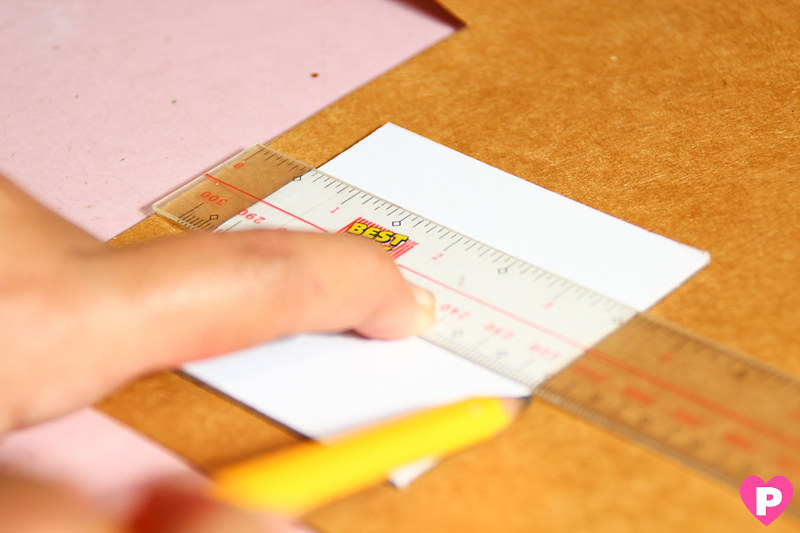
6. Placing the small board I made on the brown paperboard, I measured half inches per side before cutting it. This extra measurement will get wrapped around the table so it wouldn't look edgy.
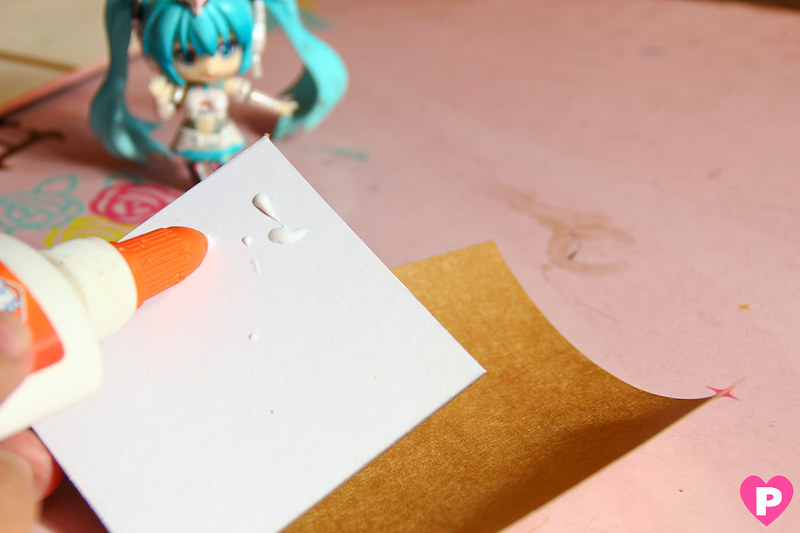
7. I then glued the brown paperboard to the small board I made, making sure I covered all edges.
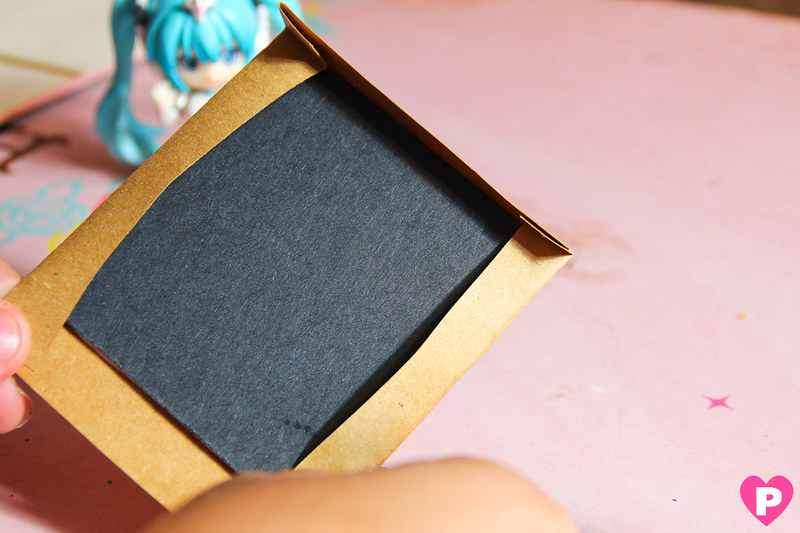
8. This part is where I folded the edges of the brown paperboard around the small board so it would look even and not too edgy.

9. I also made sure that I glued the sides completely.
I might take a while for the glue to get dry, so I asked for Sawako's help to press it down. XD

10. Once it dried, I took the 4 small feet and glued them to the board's edges, making sure they're all aligned and straight.


Give it at least 5-10 minutes to dry.

VOILA! There you have it, a DIY Japanese table! Again, this is my idea, my own way of creating things, if you have questions, message me at ilovepinkcheeks@gmail.com and I'll be happy to chat you up!
Oh, I've already posted some pictures at my Facebook page for this table and I'm pretty much happy with it already. I've already started using it in my Valentines theme photoshoot, so see you again in my next blog post!
 Hi, I'm Pinkcheeks - I'm passionate about toy photography and this blog is where I want to show how much I love this wonderful hobby!


2 comments
Mahusay cheer! 10/10 ^o^
ReplyDeleteWahahahaha hello starfish! Go gawa ka na rin para kila Miku! ^_^
Delete